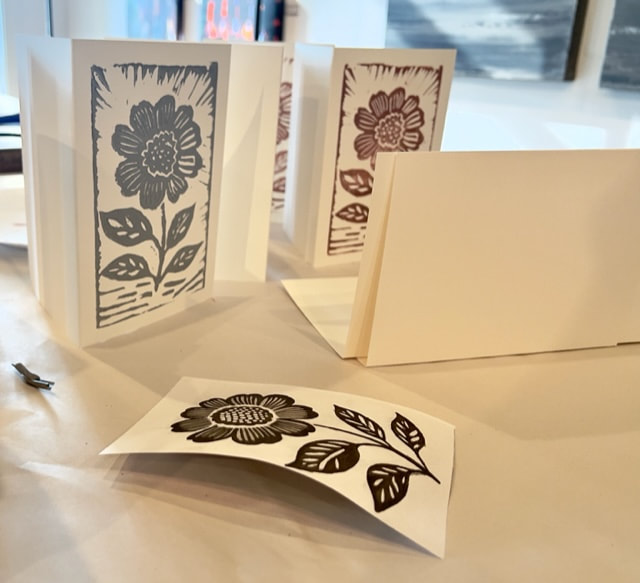
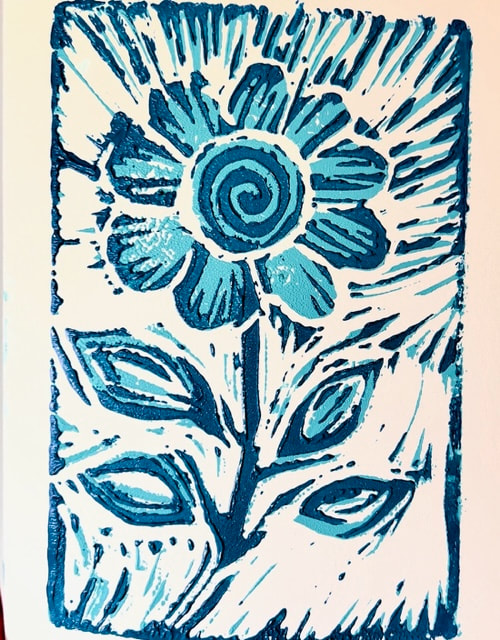
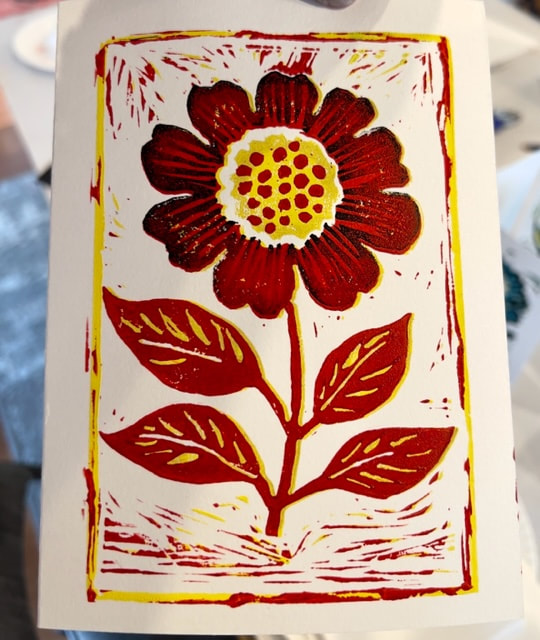
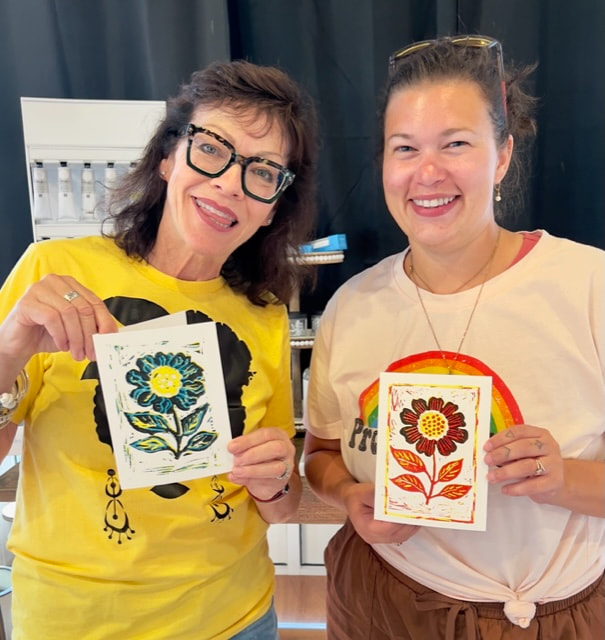
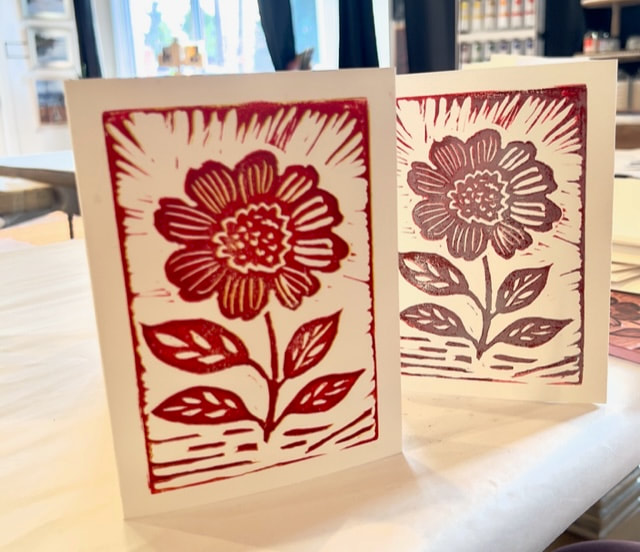
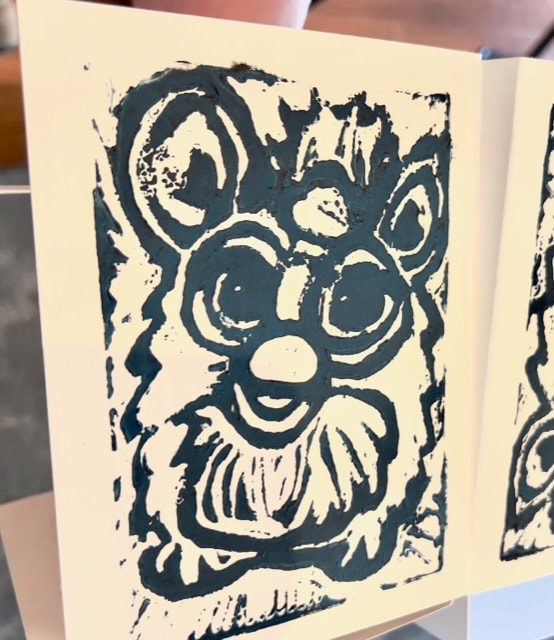
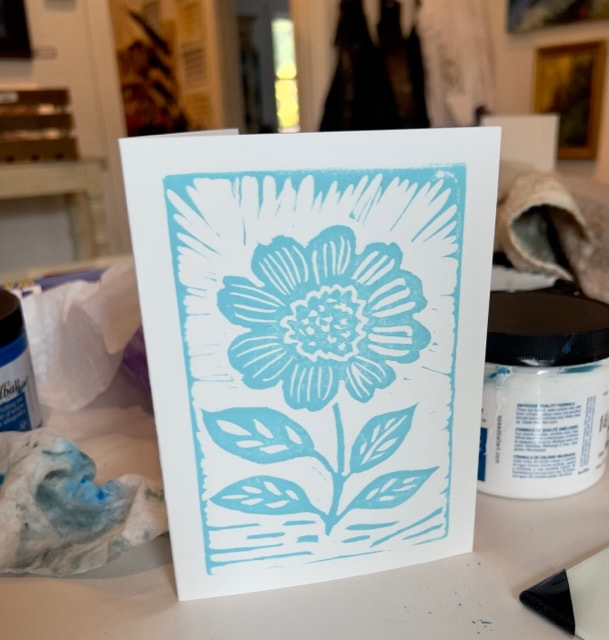
 We had a great time making our three-step color reduction prints on Saturday. We will be doing this workshop again! Three-step color reduction is a technique for creating a multicolor print using a single print. The process involves carving away the areas that will not be printed, inking the block with the lightest color, printing it on paper, then repeating the steps with darker colors until the final image is complete. 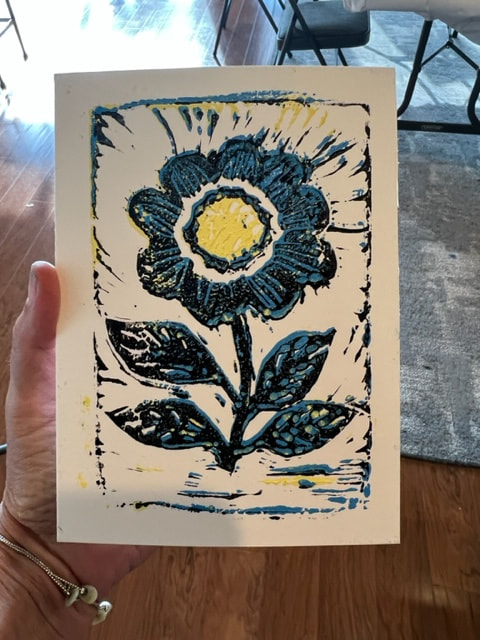 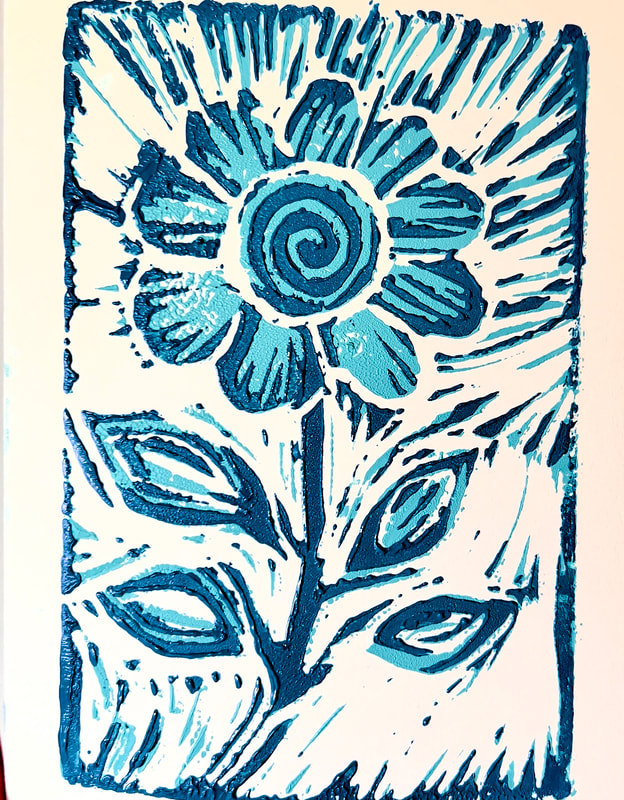 1. Transfer or draw your design on your stamp. Outline it with a black Sharpie. It may also be helpful to color code the outline with the colors for each area. The lightest color will be printed first, followed by the medium, and then the darkest. You must carve away more of the block for each color, so plan accordingly. 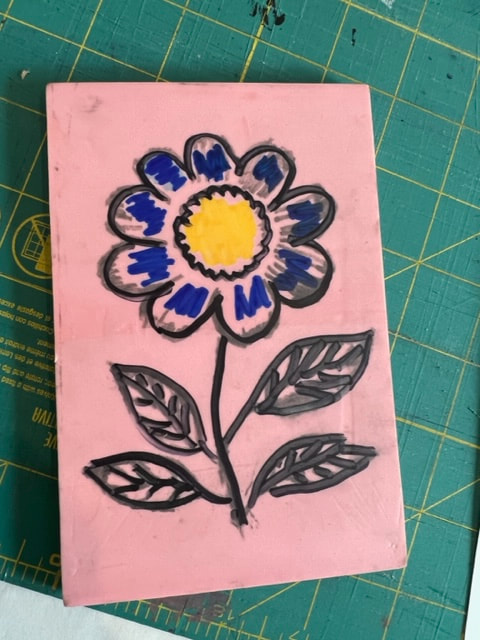 2. Carve away the areas of the block that will not be printed at all. These areas will remain white on the paper. Be careful not to cut too deep or damage the parts of the block that will be printed later. Test your carving by rubbing some ink on the block and printing it on scrap paper. 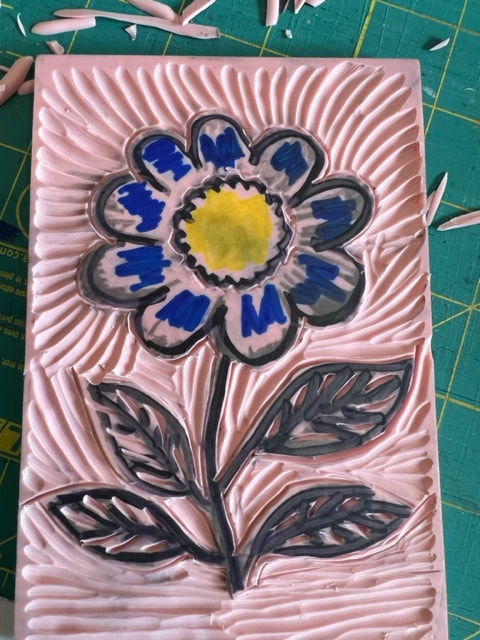 3. Ink the block with the lightest color using a brayer or a roller. Ensure the ink is evenly distributed and covers the entire surface of the block. Place a sheet of paper on top of the block and press it firmly with a baren, a spoon, or your hand. Peel off the paper carefully and let it dry. You have just printed the first layer of your image. Make sure you make as many copies as you want before moving on to the next step, as you cannot return to this step again. 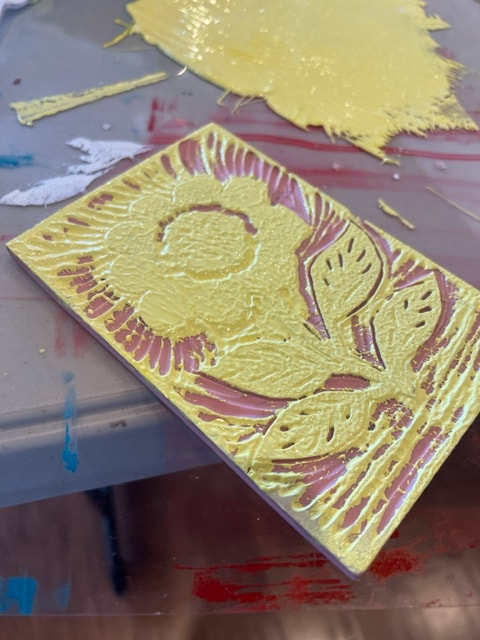 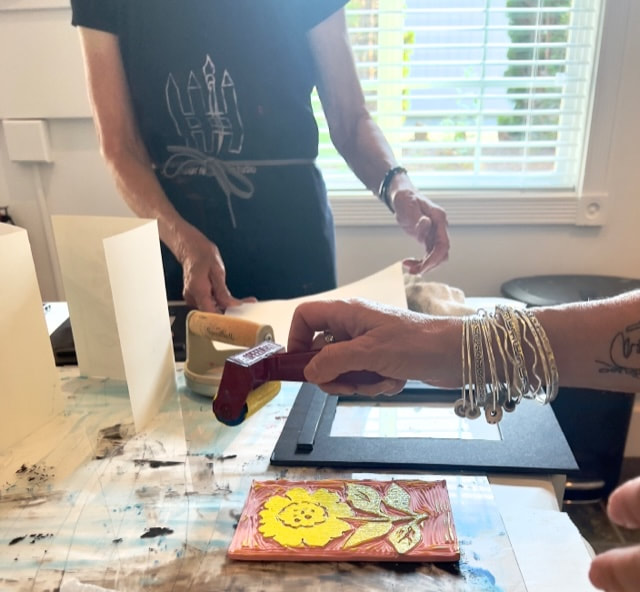 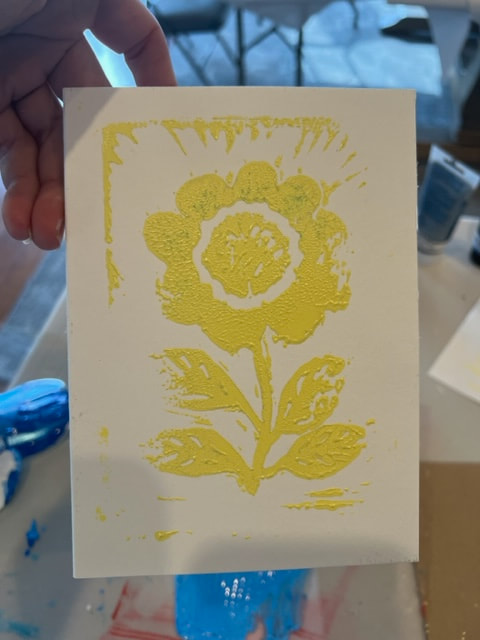 4. Carve away the areas of the block where you want the lightest color to remain, leaving only the parts that will be printed with the medium color. You can use the first print as a guide to see which areas to carve. Ink the block and print. Make sure to align the paper and the block precisely to match the colors correctly. 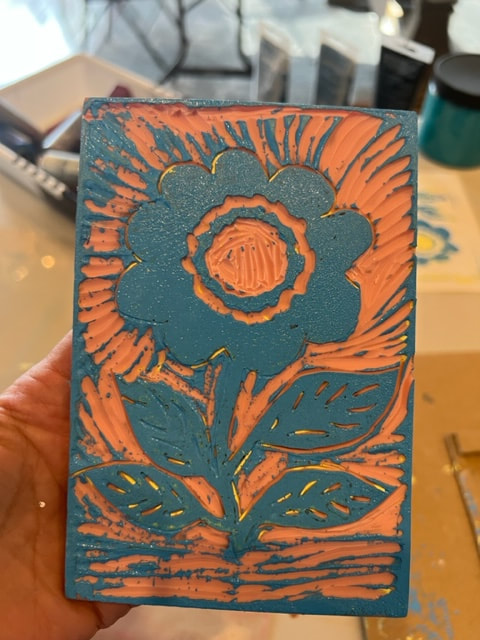 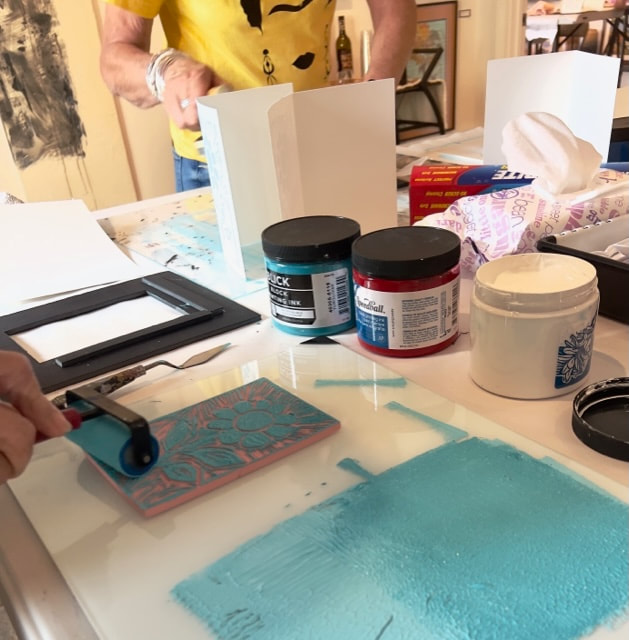 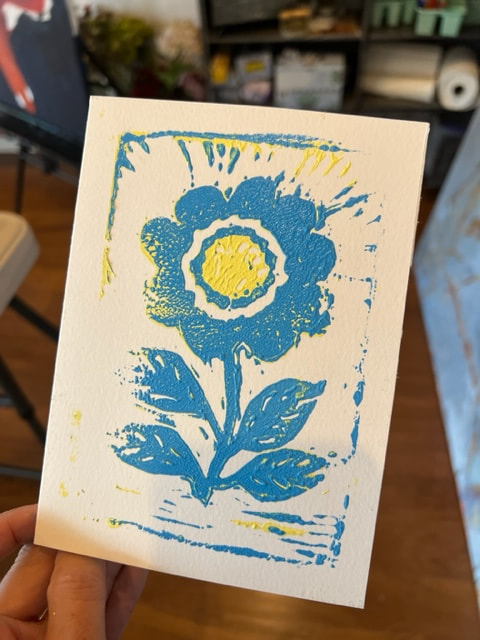 5. Carve away the areas of the block where you want the medium color to remain, leaving only the parts that will be printed with the darkest color: ink and print. 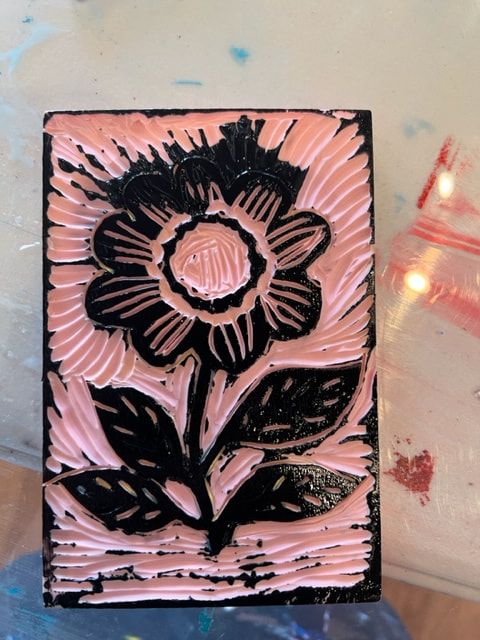 Enjoy your handmade stationary!
0 Comments
Your comment will be posted after it is approved.
Leave a Reply. |
AuthorJamie Lightfoot is an oil painter and owner of Picket Fence Art Studio. Archives
June 2024
Categories
All
|

 RSS Feed