|
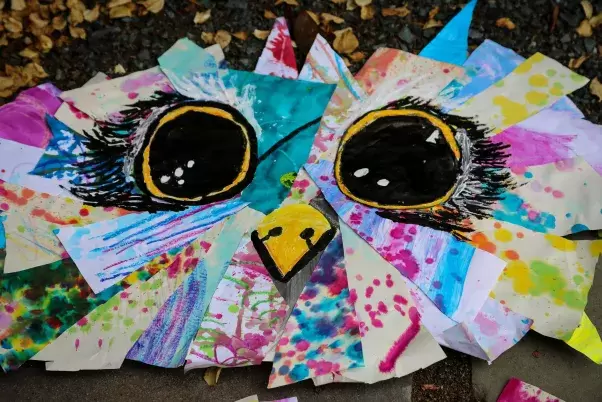
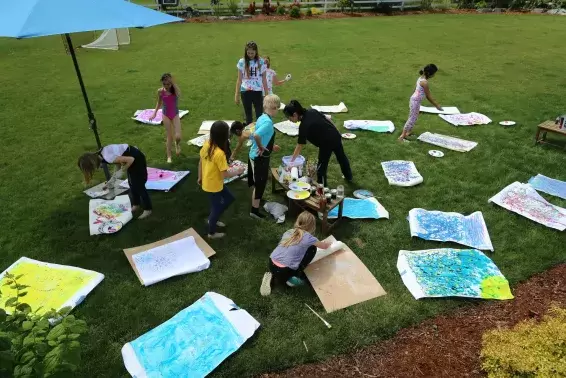
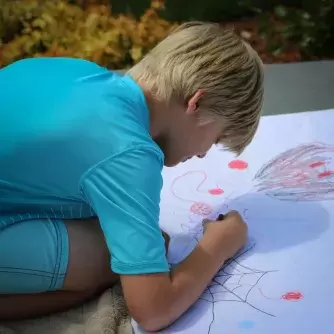
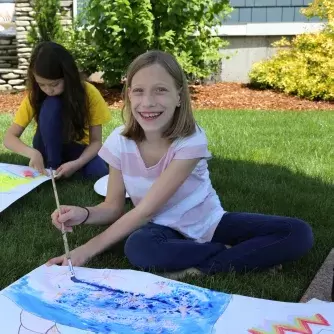
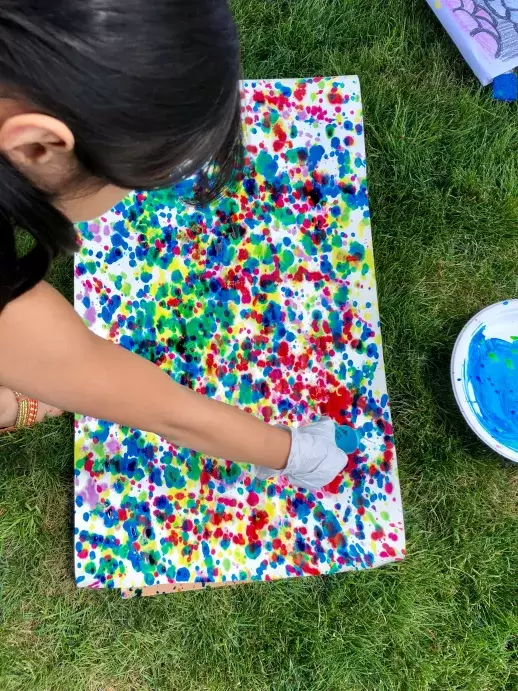
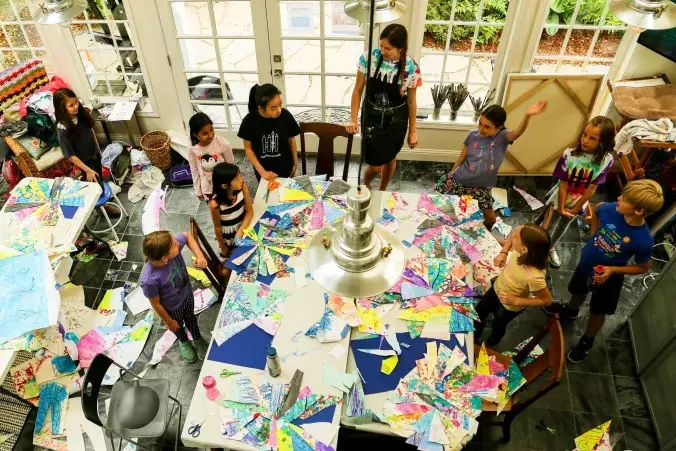
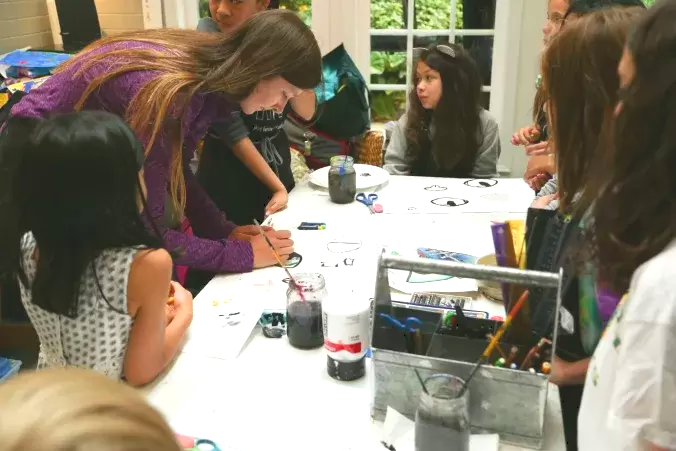
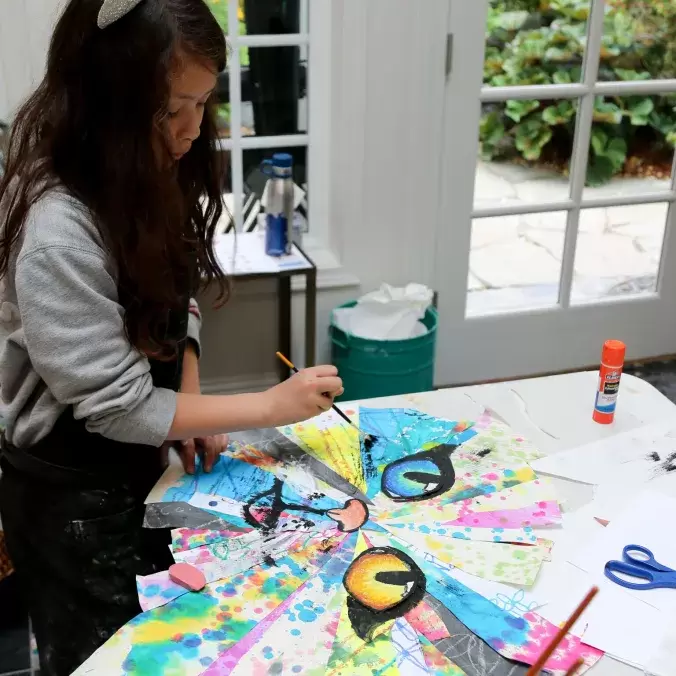
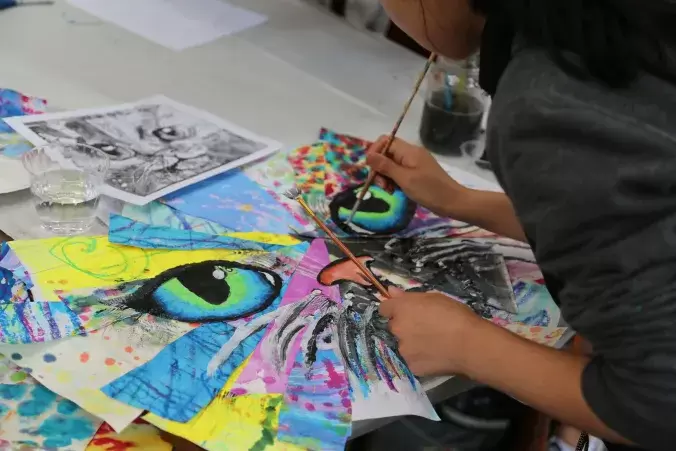
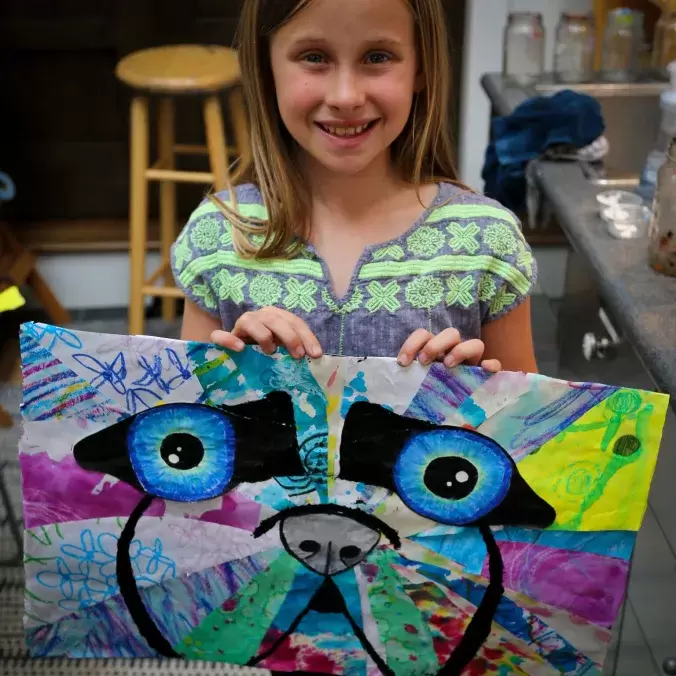
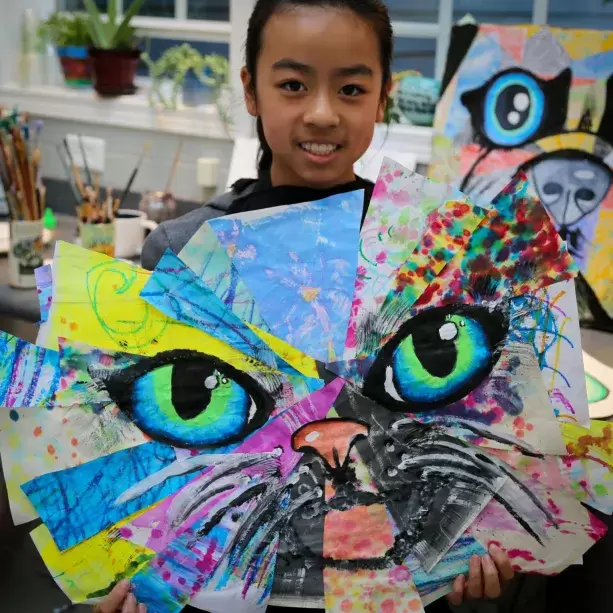
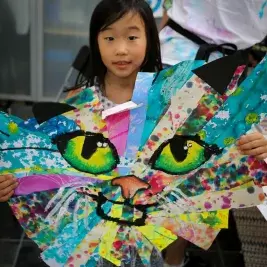
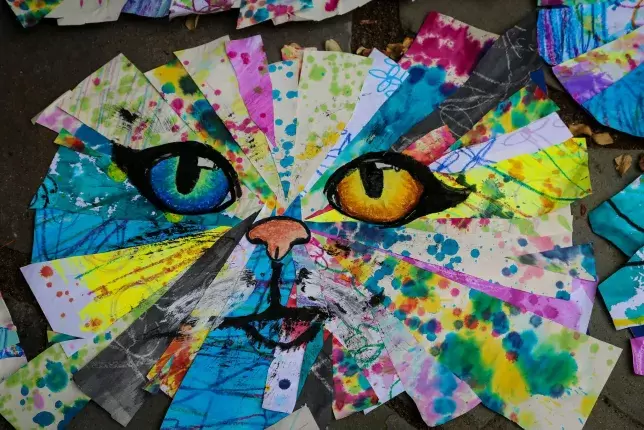
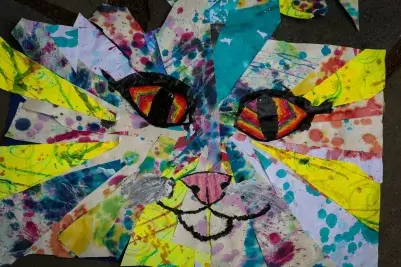
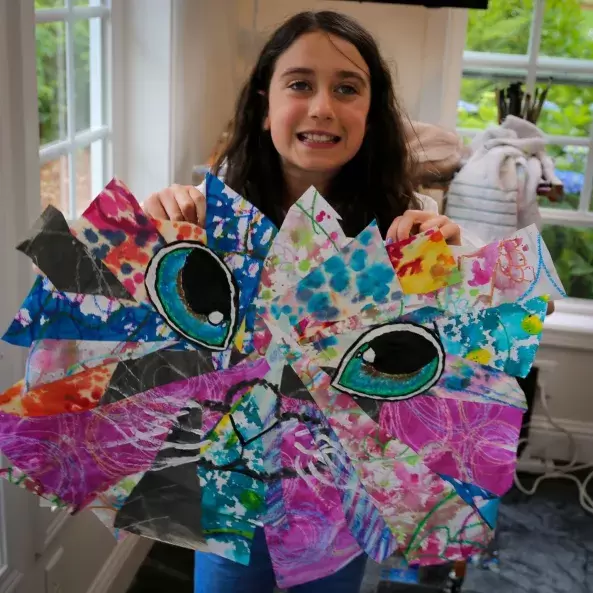
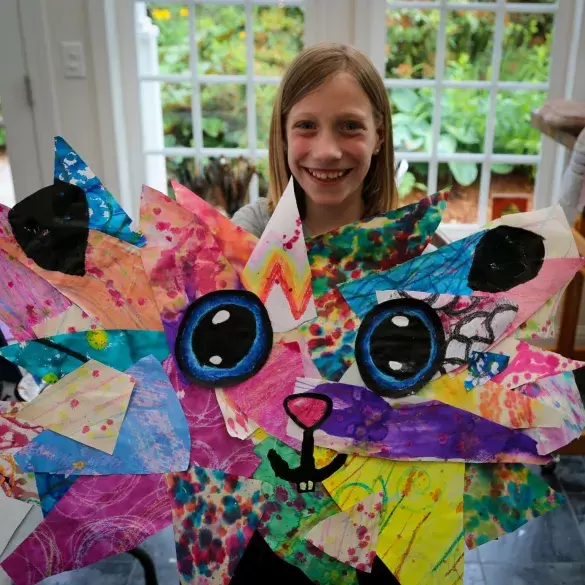
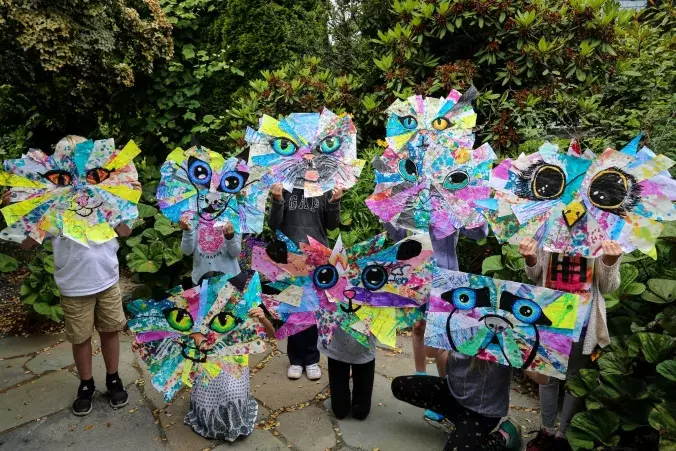
I love this project because it combined fun with practicing artistic skills. Keep reading to see a step-by-step overview of how to complete this project as well as see the finished results! Step One: Have the students scribble or create some kind of design using crayons or pastels on big sheets of paper. Then, using watercolor, tempura paint or dye from a tie-dye kit, have the students paint over their design to make bold and colorful paper. Make sure they know that everyone is sharing their paper creations. Step Two: Let the students brainstorm about what kind of animal they want to create. We let the campers choose from birds, cats and dogs but a few students got creative and did wolves, bunnies and hamsters. Step Three: Assemble the base of the collage once paper has dried. Have the students tear or cut up the colorful paper and post it on stiff cardboard or paper using Elmer’s glue. Step Four: Using black acrylic paint, trace the outline of the animal’s eyes, noses and mouth on multimedia paper. The shape of these features changes based on the animal so the students were shown demonstrations and samples but also used reference photos. See examples of the different animals at the end of this post. Step Five: Fill in the eyes using different shades of oil pastels. Trace the outline of the eye with the darkest shade and slowly blend to lighter colors to make the eye pop. Allow the students to color in the mouth and nose with pastels or acrylic paint as well. Step Six: Paste the facial features on the collage using glue then have the students add finishing touches with acrylic paint such as whiskers, fur or ears. Fan brushes are great for this step.
Step Seven: Admire your work!
0 Comments
Your comment will be posted after it is approved.
Leave a Reply. |
AuthorJamie Lightfoot is an oil painter and owner of Picket Fence Art Studio. Archives
June 2024
Categories
All
|
In The Heart of Woodinville's Wine Country
Our light-filled Studio is located in the Heart of Woodinville Wine Country.
14700 148th Avenue NE
Woodinville
(425) 466 - 1751
14700 148th Avenue NE
Woodinville
(425) 466 - 1751
|
Hours:
Tuesdays: 2:00 - 8:00 pm Wednesdays: 3:00 - 6:00 Saturdays: 11:00 am -4:00 pm Sundays: By appointment |
|
Proudly powered by Weebly
 RSS Feed