|
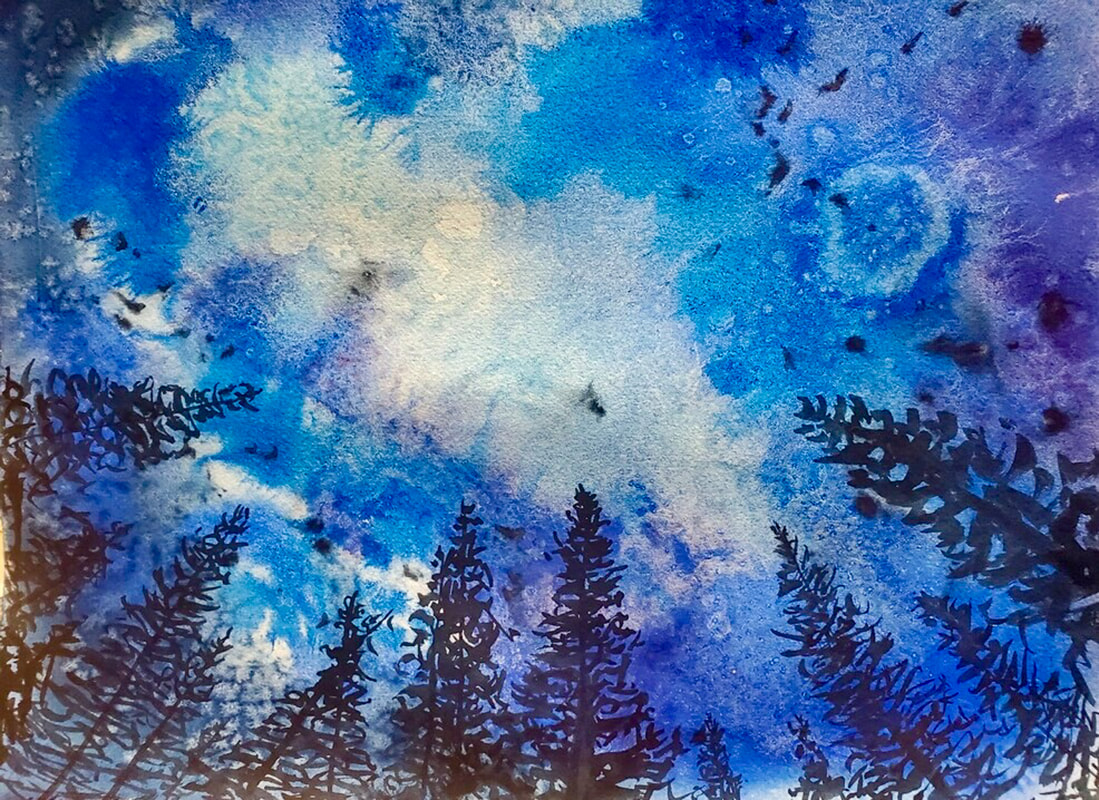
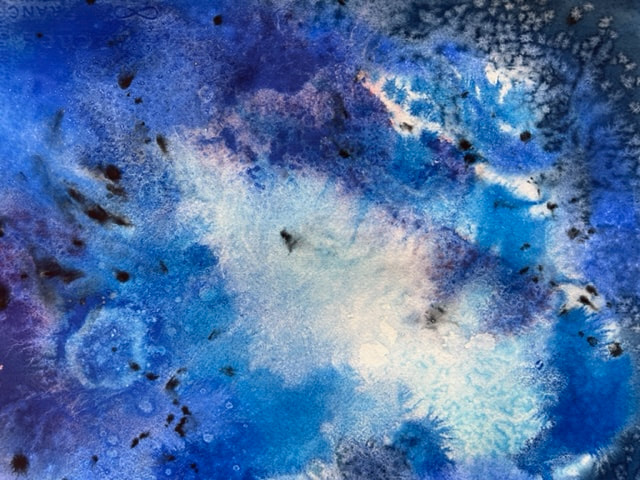
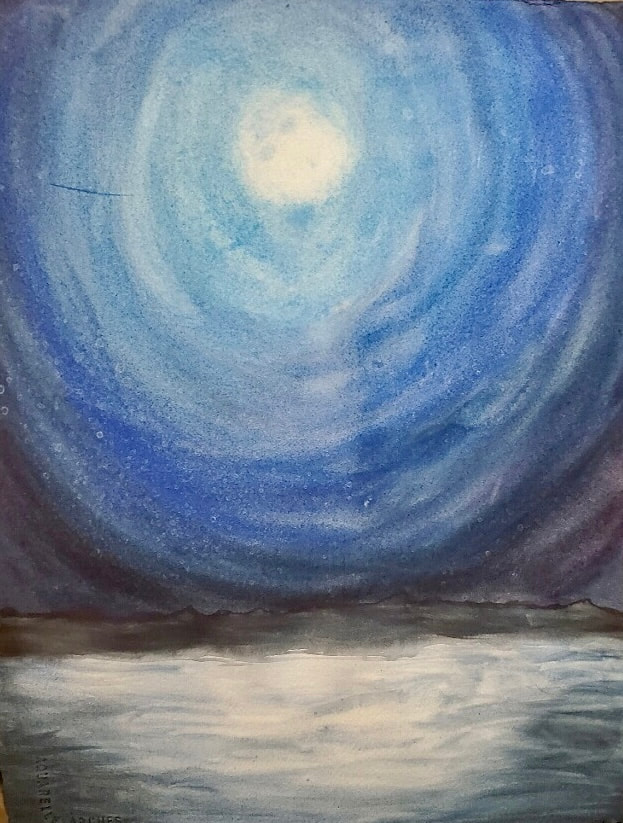
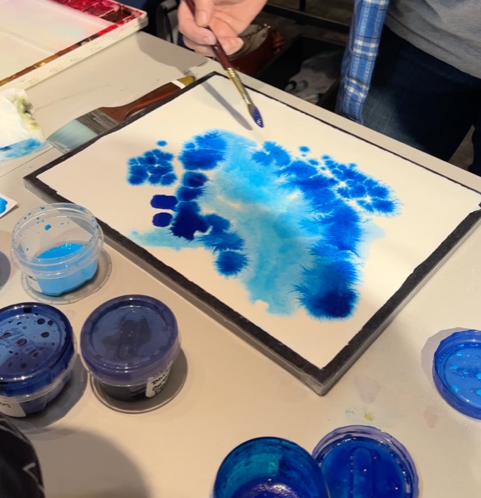
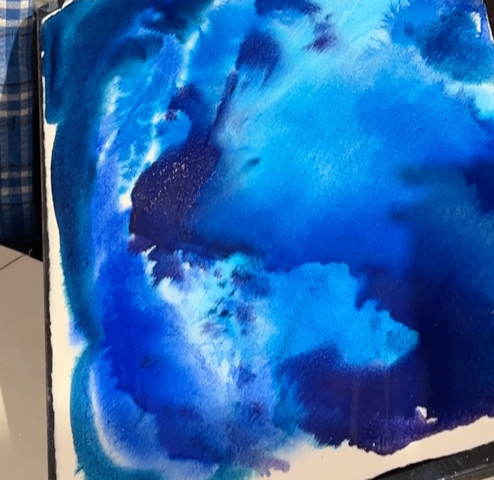
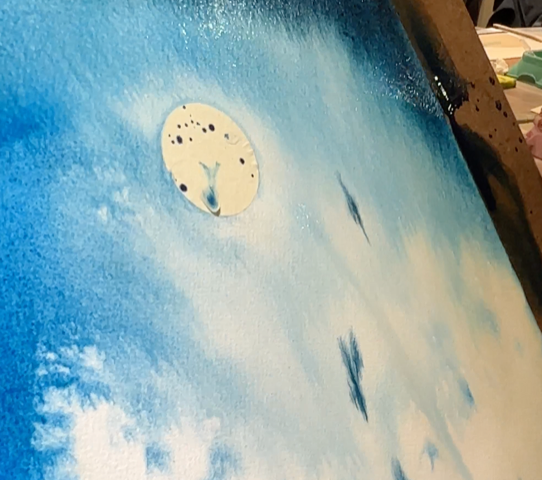
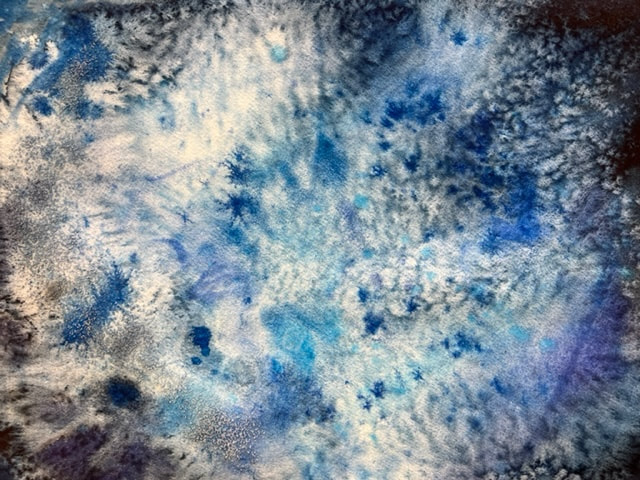
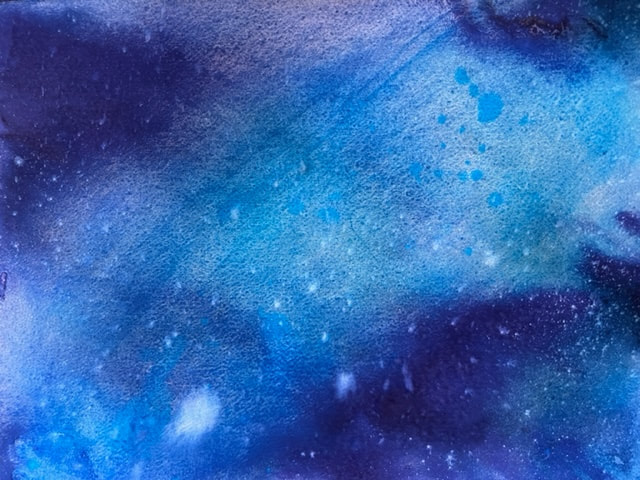
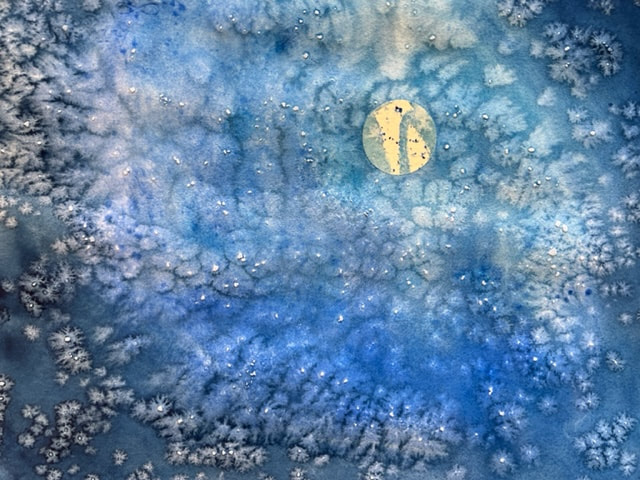
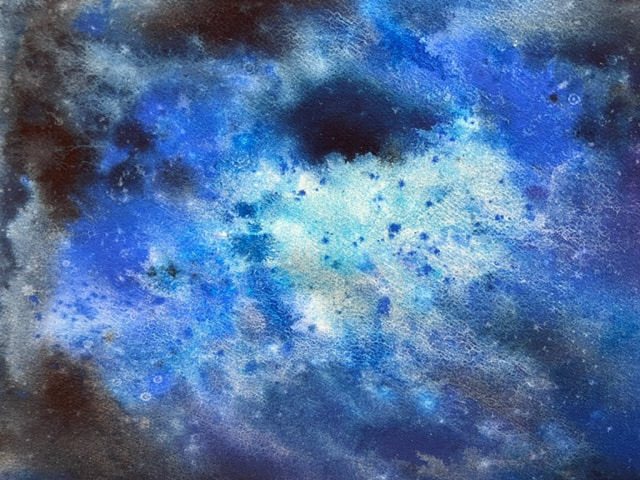
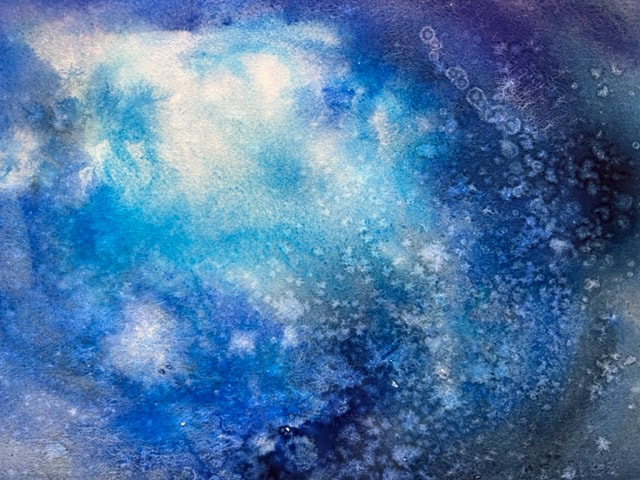
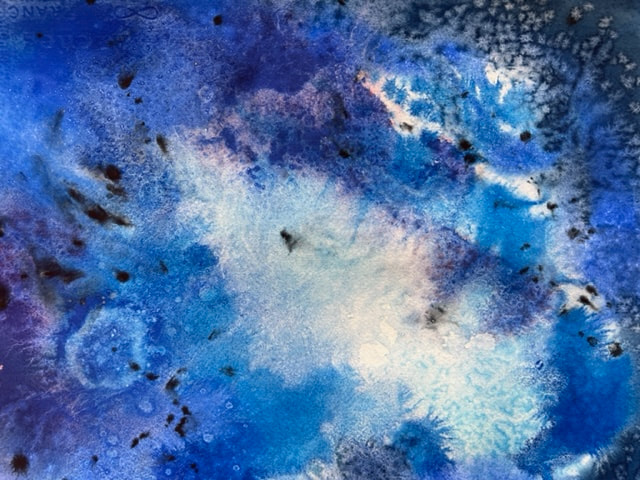
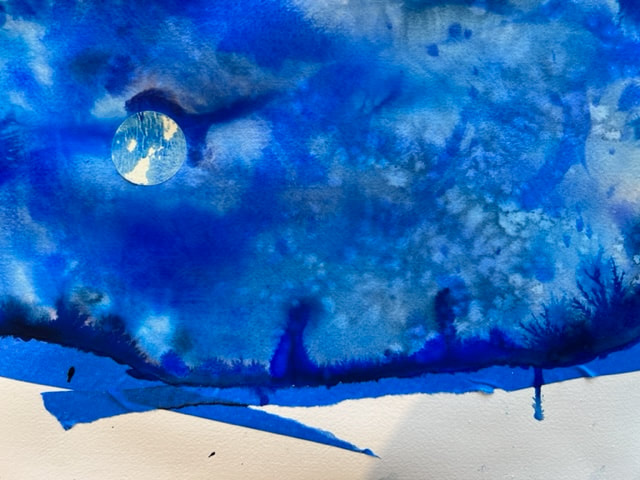
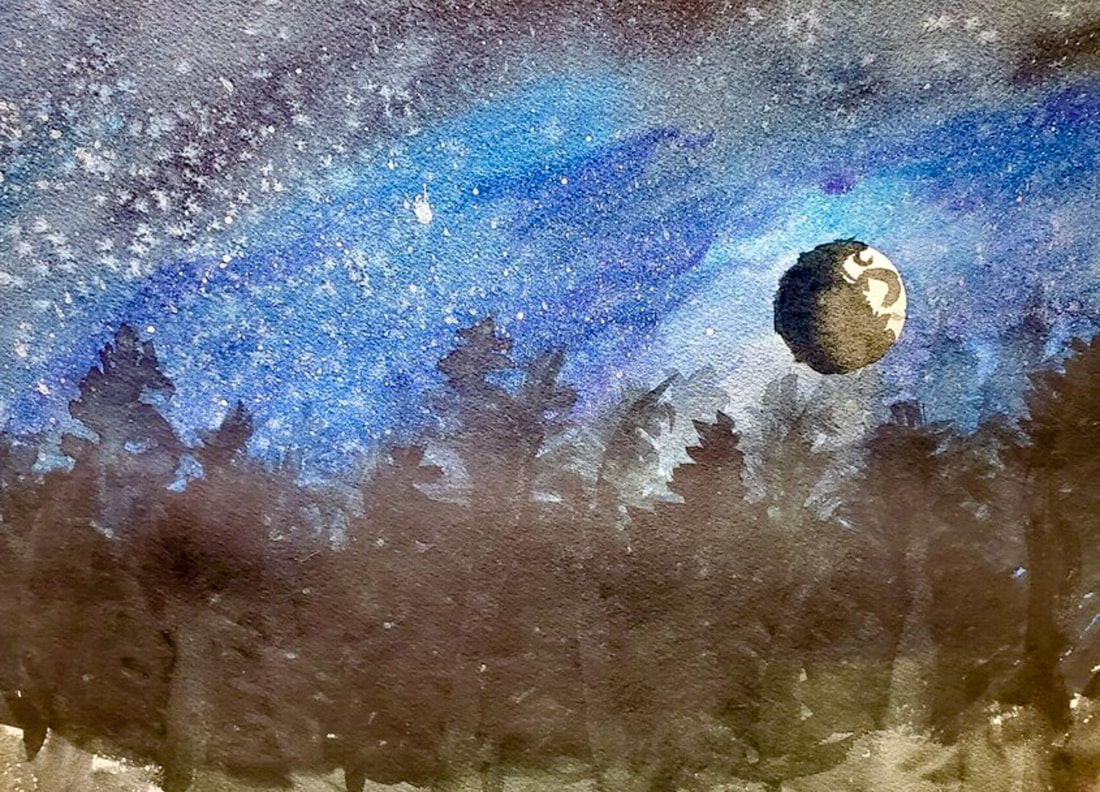
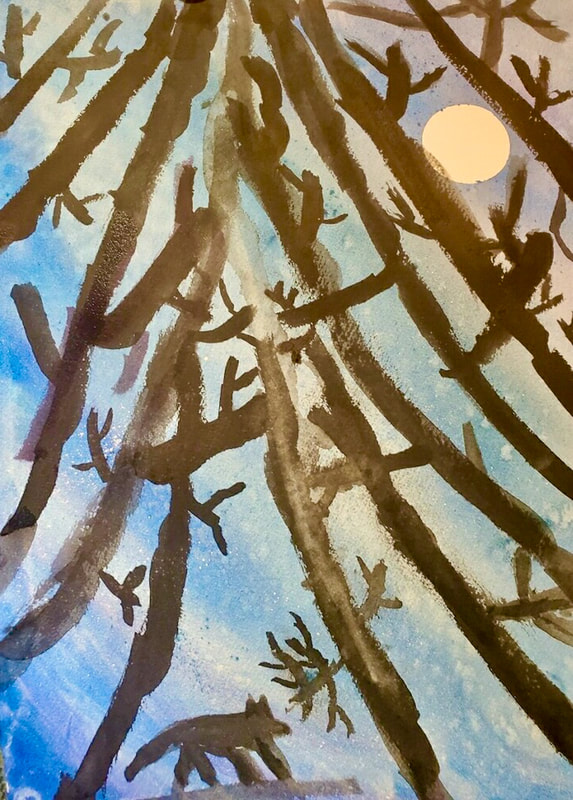
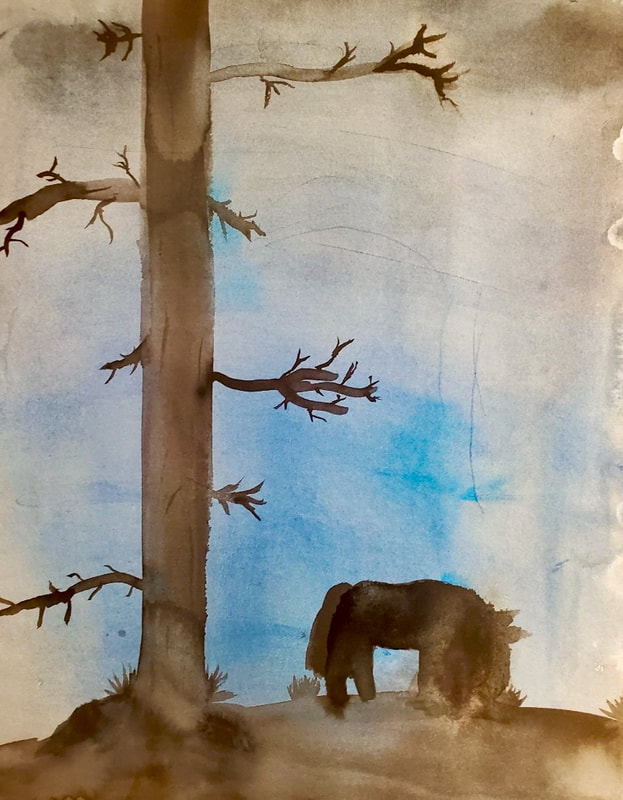
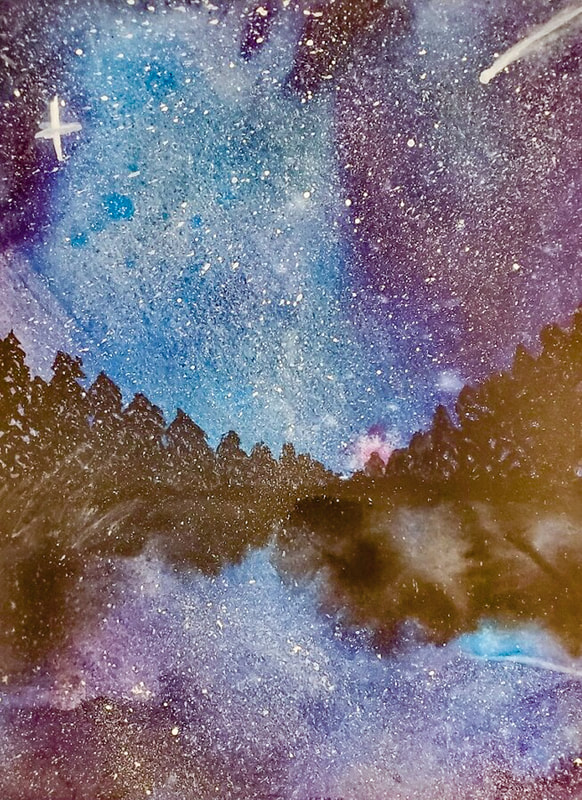
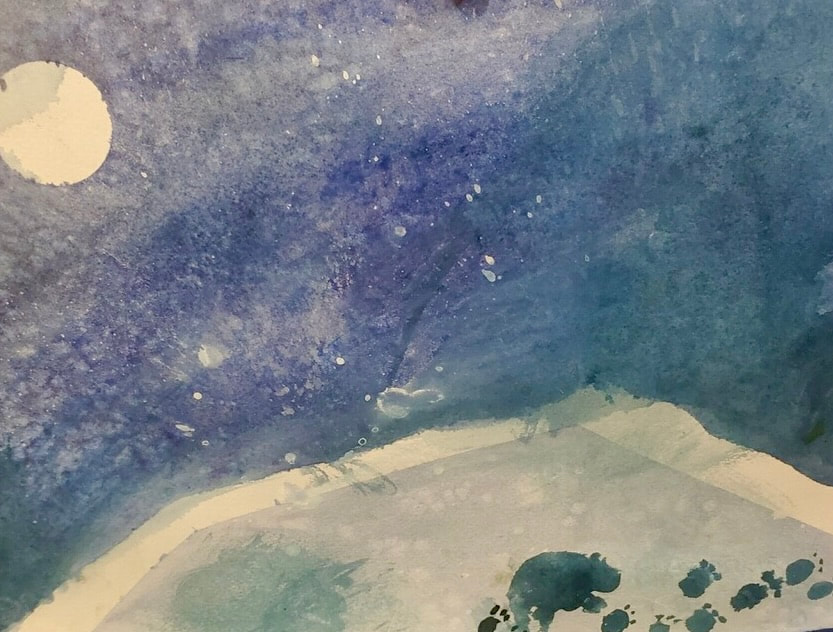
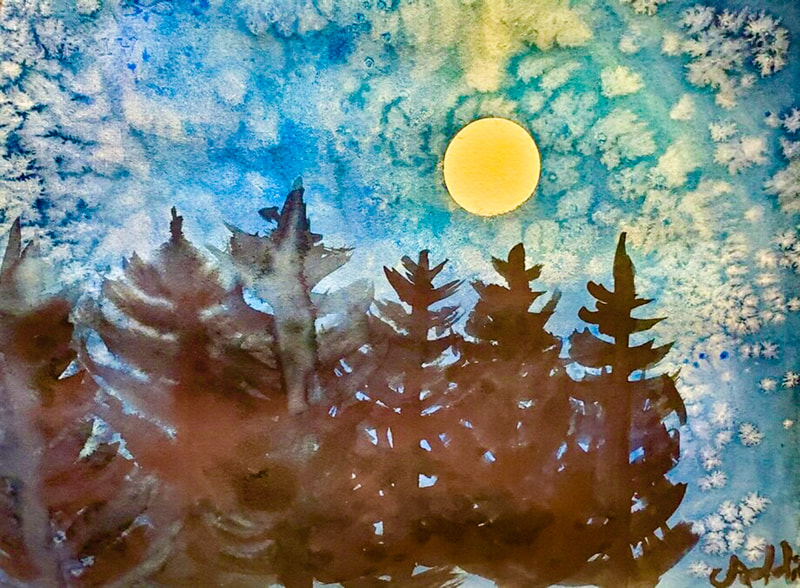
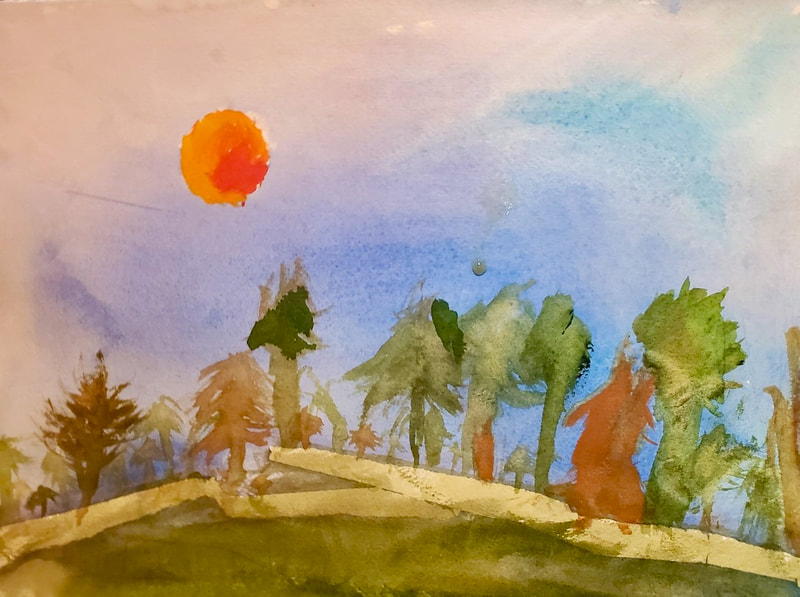
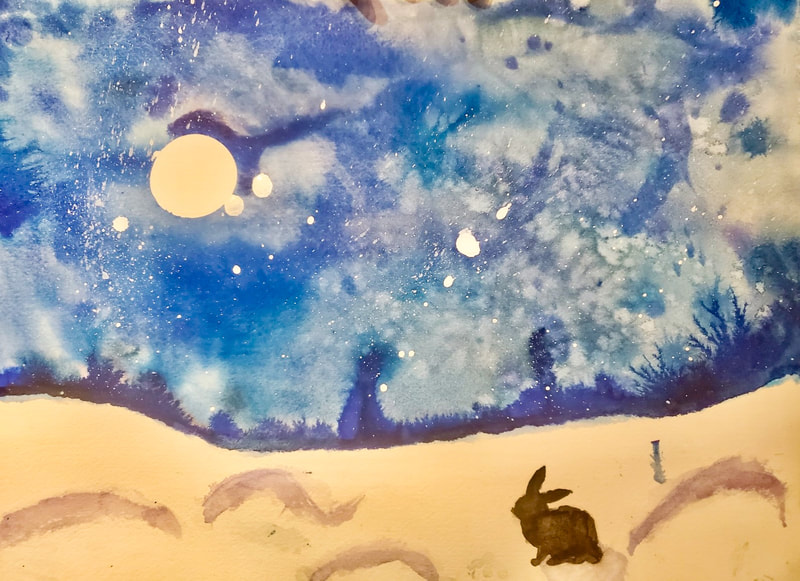
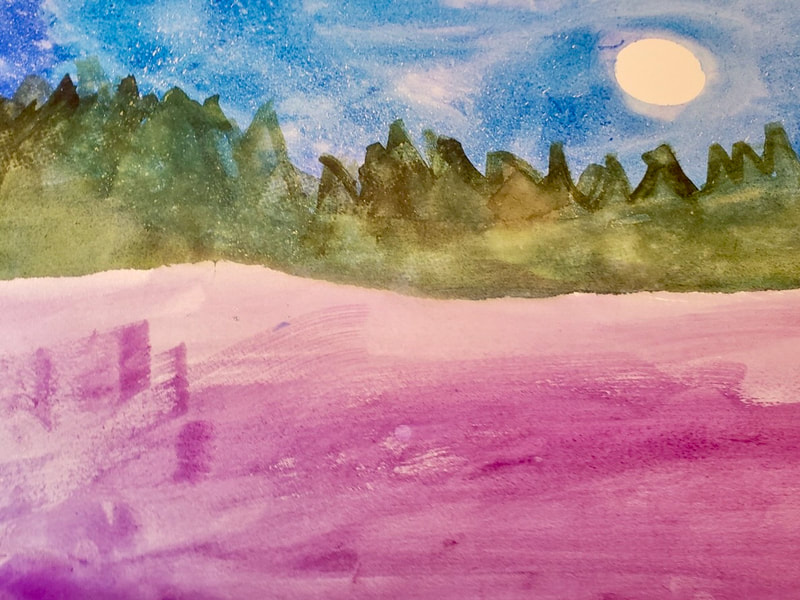
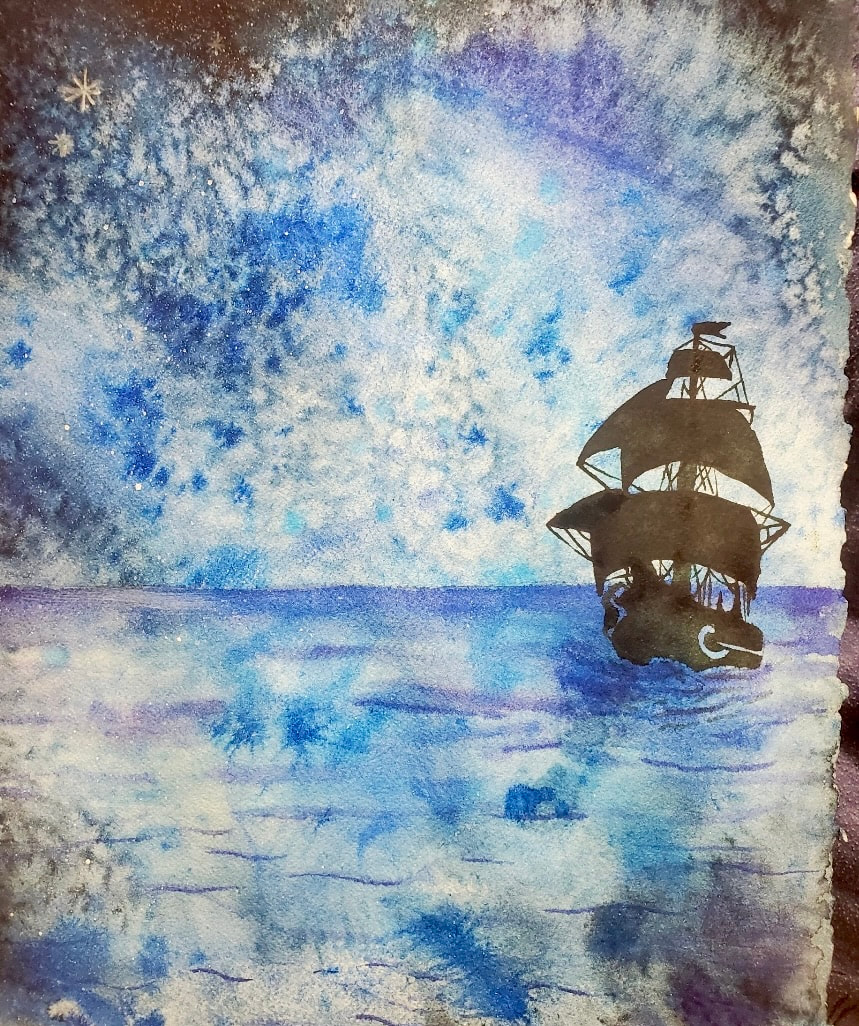
This month's second watercolor painting for the Elementary and Teen Classes continued our lessons about perspective in landscapes. This painting featured a background nighttime sky and dark silhouettes in the foreground. Students learned how to do a wet-into-wet color wash as an underpainting to represent a nighttime sky. Students were shown photos of nighttime skies as inspiration for their paintings. These included galaxies, Milkyway, the full moon, and stars with black/dark silhouettes painted on top in different perspectives. Some looked like you were laying on the ground looking up like the trees were very close, or you were looking out onto layers and layers of trees in gradated colors. Some were silhouettes of evergreen trees or deciduous trees. Some had animals. Some were all sky. Some had a distinct horizon with snow on the ground. Again, we encouraged the kids to use their imagination and make the painting look how they wanted. The only requirement was to show distance perspective in some way. Some students decided to save the paper's white with masking tape circles to represent a full moon casting light in the painting. We discussed the colors to use in our painting to give the effect of a nighttime sky. We used blues and grays, and purple colors. The students used a wet-into-wet pouring technique for the first layer of our painting. We encouraged them to put the paint on the paper in any way they wanted. After the paint was applied, they squirted water on the paper to see what would happen. Then, they picked up their paintings and tilted them in all directions. Different colors mingle together and make different unexpected colors. You never know what you will get. This process is messy and fun! It's the perfect way to see and learn the magic of watercolor. We also explored techniques to achieve texture and depth with different types of salts and spraying alcohol into the paint to show students how each technique would look on their paintings. The salt absorbs the pigment of the paint and leaves exciting shapes. They could spray rubbing alcohol into their paintings and watch circles appear. They could splatter white gouache that would mix with the watercolor and look like distant stars. During the second class, students painted silhouetted shapes on top of the night sky paintings, focusing on creating a perspective. We talked about how when you look out into an evening sky with light from the moon, the shapes/silhouettes closest to you look very dark or black. A tree line or mountain range will look lighter when it's off in the distance than what is closest to you. We looked at the photos again as inspiration, and the students made their plans. We asked them how they thought they would achieve that look and gave guidance. Students could choose to use a toothbrush and white gouache to splatter all over their paintings to make brighter stars in their skies. We showed them how to mix dark colors and blacks without using black paint or adding other colors to black paint to create interesting black/dark colors. Students practiced mixing their darks and came up with the colors they wanted to use. Everyone had different ideas, and we wanted them to have a free choice experience.
Time to let them go for it! Last but not least, they signed their paintings! Enjoy their art work.
0 Comments
Your comment will be posted after it is approved.
Leave a Reply. |
AuthorJamie Lightfoot is an oil painter and owner of Picket Fence Art Studio. Archives
June 2024
Categories
All
|
In The Heart of Woodinville's Wine Country
Our light-filled Studio is located in the Heart of Woodinville Wine Country.
14700 148th Avenue NE
Woodinville
(425) 466 - 1751
14700 148th Avenue NE
Woodinville
(425) 466 - 1751
|
Hours:
Tuesdays: 2:00 - 8:00 pm Wednesdays: 3:00 - 6:00 Saturdays: 11:00 am -4:00 pm Sundays: By appointment |
|
Proudly powered by Weebly
 RSS Feed