|
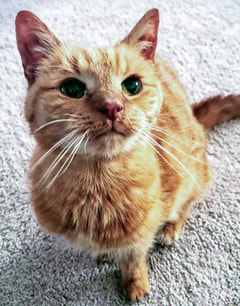
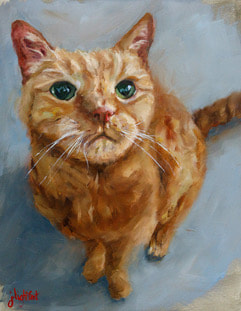
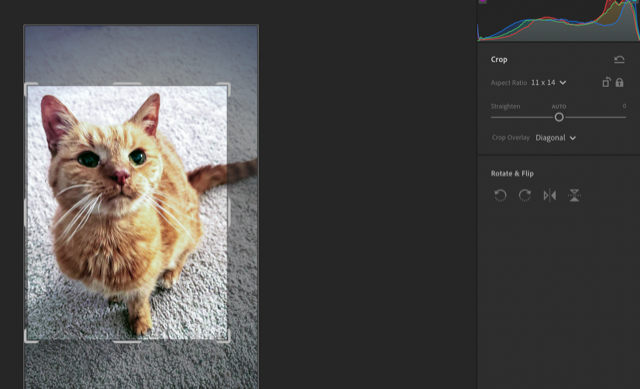
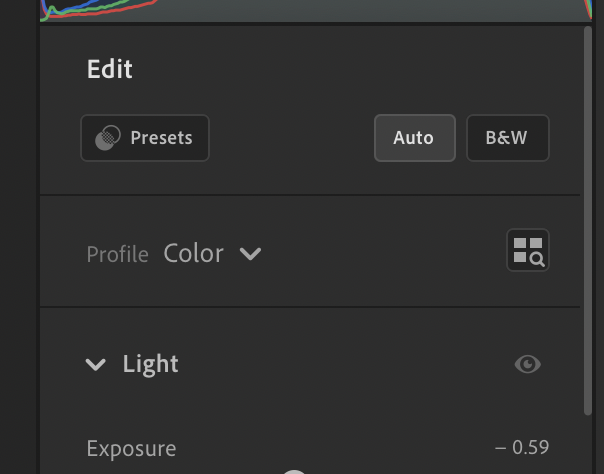
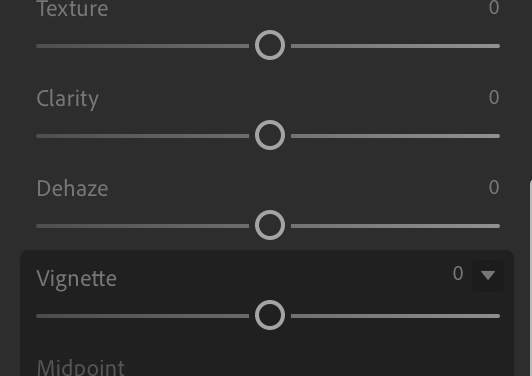
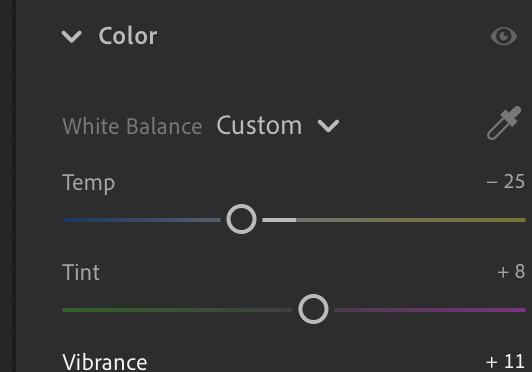
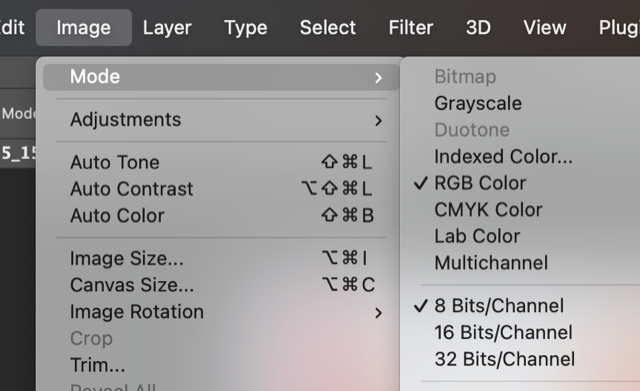
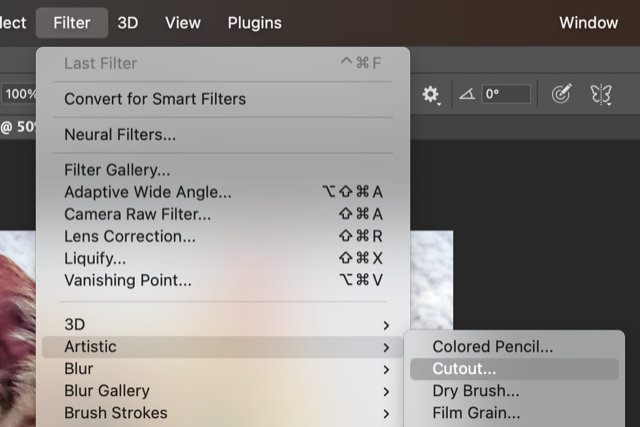
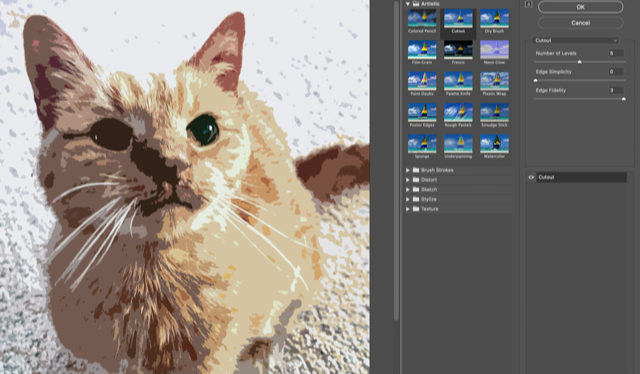
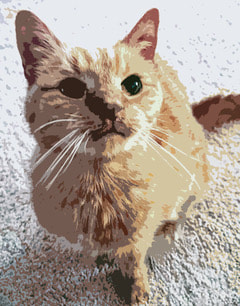
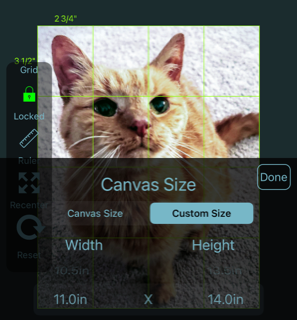
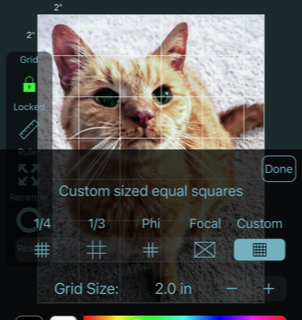
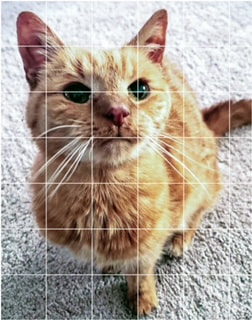
Painting from life always brings the freshest results, but we all paint from photos. I believe the best paintings look like paintings and not photographs, but I also believe in embracing the tools that technology has given us. I also think that drawing can be intimidating for some people. I learned to paint from painting still lifes, and I still remember the intimidation a vase with some flowers on a table could bring. However, drawing can be learned, it just takes practice. If you keep drawing, at some point, you will realize that you can do it without so much worry and consternation. I also think any form of drawing can get you to this point - even grid drawing. To that extent, here is the method that I use with my student's photos to help them get a good start on their paintings. When a student sends me a photo, I add it to Lightroom. Lightroom is a photo editing software that you can lease from Adobe. I am not trying to sell you software. I started in photography, so it's the software I have used for years. Lightroom can be complicated. This is NOT a tutorial on how to use it. This is just an explanation of some basic steps. Once in Lightroom, we will crop the image to fit the size of the canvas the student is painting. I typically start students on 11 x 14 - it seems a good size. I then try to clean up the image as best as possible. An easy way is to hit "Auto." I usually also increase the exposure and slide the "Dehaze" tool to make the image more vibrant. Sometimes we also need to adjust the "Temperature" of the image to get the colors we want. Once this is completed, we will edit the image in Photoshop. When starting an oil painting, you want to see and paint the large shapes and values. This can be hard for new students, especially in more complicated paintings like landscapes or animals. We use Photoshop's "Cutout" art filter to simplify the image. First, you need to adjust the image mode to 8 bits. Then, select "filter - artistic - cutout." You will see that this filter applies value layers to the picture. The filter alters the colors a bit, so you cannot rely on it for color, but my students find that it helps them see the different values in a painting and simplifies the big shapes for them. I typically think five levels of adjustment is an excellent place to start. Hit save. We now have two images - one that this the edited original and one that is the cutout image. Lastly, to help with the drawing process, my students will add the image to Gridpainter - an app you can download for your phone or iPad. Once the image is in this app, set the canvas size to match your canvas and then set your grid size. For 11 x 14, we usually go with a two-inch grid. Save this image. Draw a two-by-two-inch grid on your canvas. We paint thick enough that we draw the grid with pencil and the paint easily covers our marks. I like to paint on Ampersand panels which are pretty easy to draw on. If you are painting on a canvas, be sure not to press too hard, or you will leave indents on the canvas.
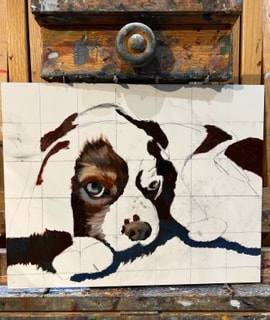
The student can quickly draw the image on the painting surface, one square at a time. Most of my students start by drawing with a pencil, but advance to the point of painting in the image with some Transparent Oxide Red thinned with turpentine. Once the image is on the canvas, we can focus on painting!
0 Comments
Your comment will be posted after it is approved.
Leave a Reply. |
AuthorJamie Lightfoot is an oil painter and owner of Picket Fence Art Studio. Archives
June 2024
Categories
All
|
In The Heart of Woodinville's Wine Country
Our light-filled Studio is located in the Heart of Woodinville Wine Country.
14700 148th Avenue NE
Woodinville
(425) 466 - 1751
14700 148th Avenue NE
Woodinville
(425) 466 - 1751
|
Hours:
Tuesdays: 2:00 - 8:00 pm Wednesdays: 3:00 - 6:00 Saturdays: 11:00 am -4:00 pm Sundays: By appointment |
|
Proudly powered by Weebly
 RSS Feed